Follow us on Facebook
Breaking updates in your feed — tap to open
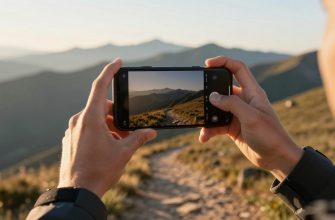
You don’t need a fancy flagship phone to create killer content. Modern smartphones pack impressive camera hardware, but knowing how to use it separates average shots from professional-looking results. These smartphone camera tips focus on core principles that work across generations. Whether you shoot video for social platforms or capture stills for a portfolio, mastering fundamentals like lighting, stabilization, and manual controls makes a visible difference. You don’t need a studio-just a willingness to experiment and refine your approach.
Mastering Lighting
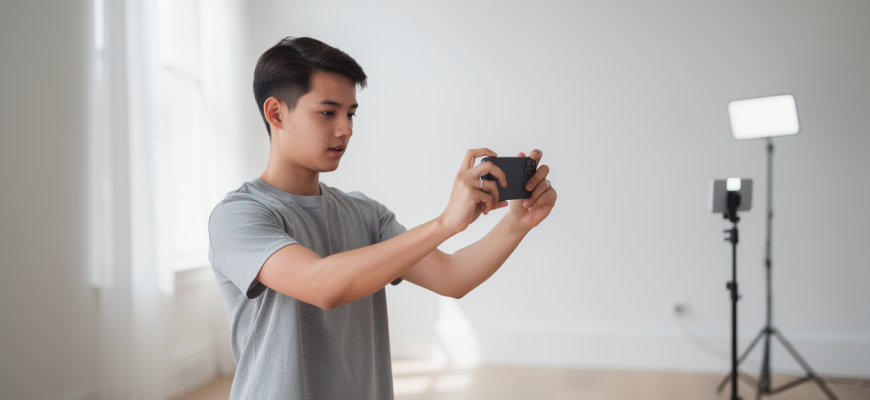
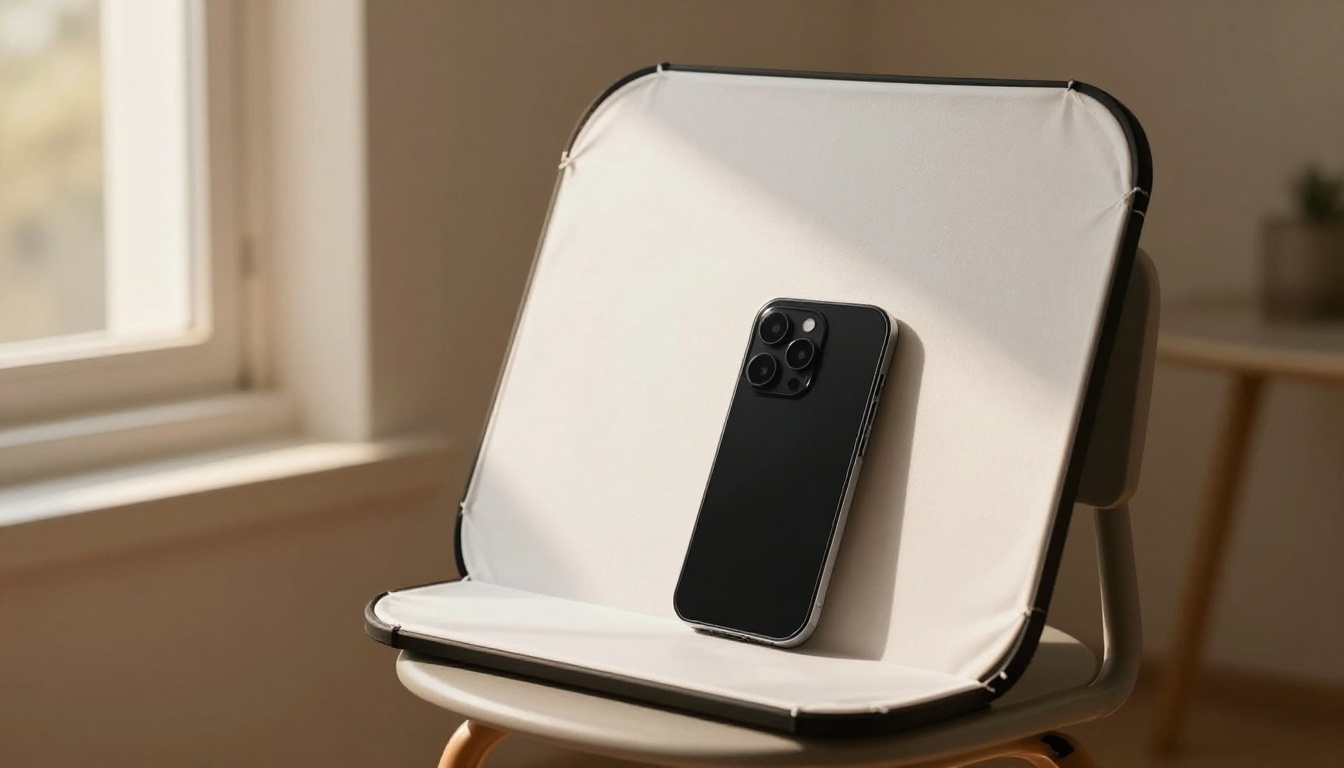
Light shapes every image. Natural light remains the most accessible and flattering source for mobile photography. Shoot near large windows or step outside during golden hour for soft, directional illumination. Avoid harsh midday sun, which creates unflattering shadows. If you must shoot in bright conditions, look for open shade or use a diffuser. For indoor setups, a simple ring light or softbox can mimic window light. Position your key light slightly to one side to add depth. A reflector-even a white foam board-fills shadows without extra gear. It’s all about controlling contrast.
When natural light isn’t enough, LED panels offer adjustable brightness and color temperature. Many are compact and mount directly to a phone rig. Start with a neutral 5600K setting and adjust to match ambient light. Avoid mixing color temperatures unless you’re going for a creative effect. Remember: the direction of light matters more than the quantity. Side lighting emphasizes texture, while front lighting flattens features. Experiment with backlighting for dramatic silhouettes.

Stabilization Techniques
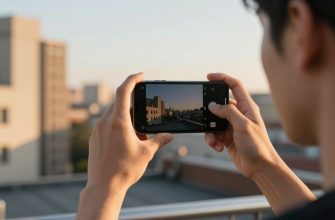
Shaky footage screams amateur. Built-in optical and electronic stabilization help, but they can’t replace good technique. Hold your phone with both hands, elbows tucked into your body. Breathe steadily and move smoothly. For static shots, lean against a wall or rest the phone on a stable surface. A basic tripod with a phone mount is a game-changer for interviews, product shots, and time-lapses. When you need to move, a gimbal provides fluid motion. Modern gimbals are lightweight and foldable, making them practical for on-the-go creators.
Don’t overlook software stabilization. Many editing apps offer post-processing stabilization that can salvage slightly shaky clips. However, this often crops into the frame, so shoot a bit wider than you need. For handheld walking shots, try the “ninja walk”-bent knees, rolling steps. Combine this with a wide-angle lens and electronic stabilization for surprisingly smooth results. Stability is the foundation of professional-looking video.
Manual Controls and Apps
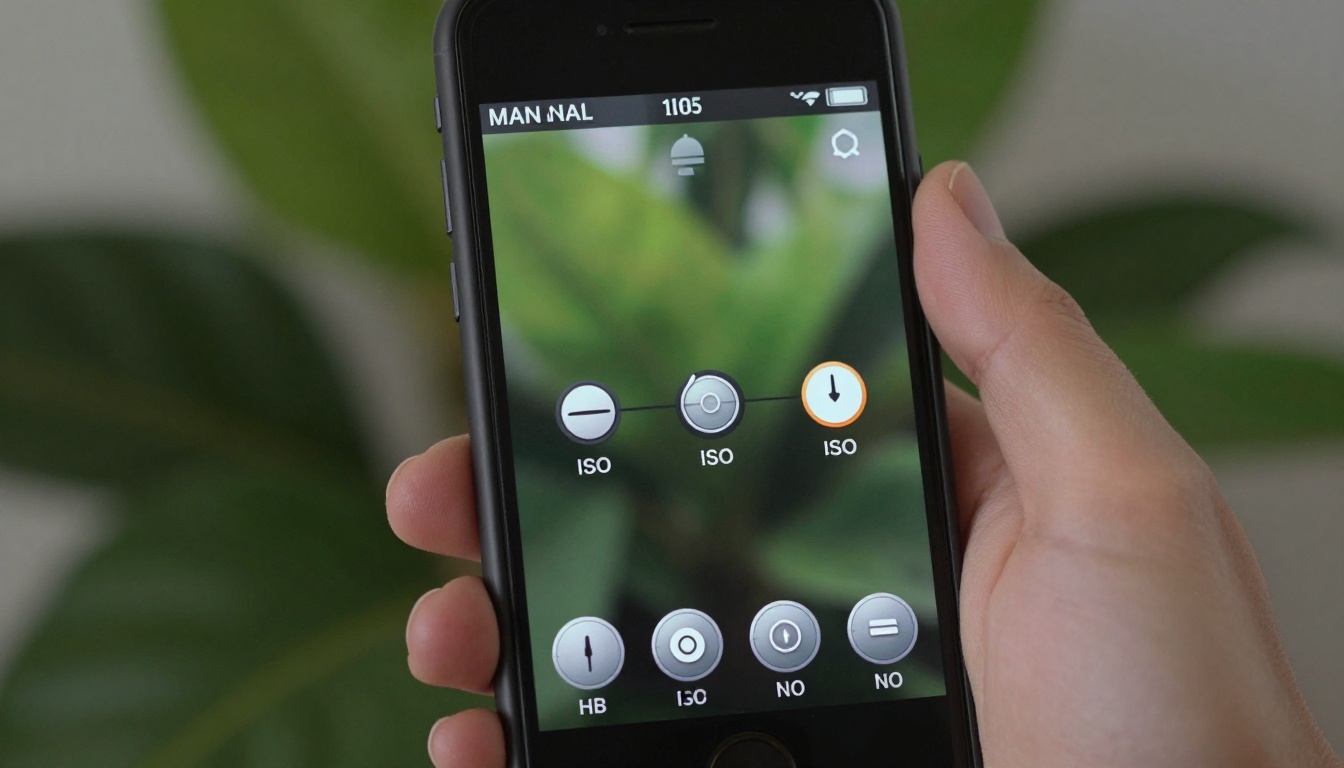
Auto mode works for quick snaps, but manual controls unlock creative possibilities. Adjusting shutter speed, ISO, and white balance gives you consistency across shots. A slower shutter captures motion blur, a faster one freezes action. Lower ISO yields cleaner images, but requires more light. White balance ensures colors look natural under different lighting. Most phones hide these controls in a “pro” or “manual” mode. Third-party apps often provide finer control and features like focus peaking and histograms.
Consider these steps to integrate manual controls into your workflow:
- Start with shutter speed: set it to double your frame rate for video (e.g., 1/60 for 30fps) to achieve natural motion blur.
- Lock ISO to the lowest value that gives proper exposure, reducing noise.
- Use manual focus to pull focus between subjects or ensure sharpness on a specific point.
- Shoot in a flat or log profile if available, preserving dynamic range for color grading later.
- Monitor audio levels manually when recording video, don’t rely on auto-gain.
Apps like Filmic Pro, ProCam, or the built-in pro modes on devices from Samsung, Apple, and Google offer these controls. Explore what your phone supports. It’s not about having the most expensive gear-it’s about understanding the tools you already have.
Editing for Impact
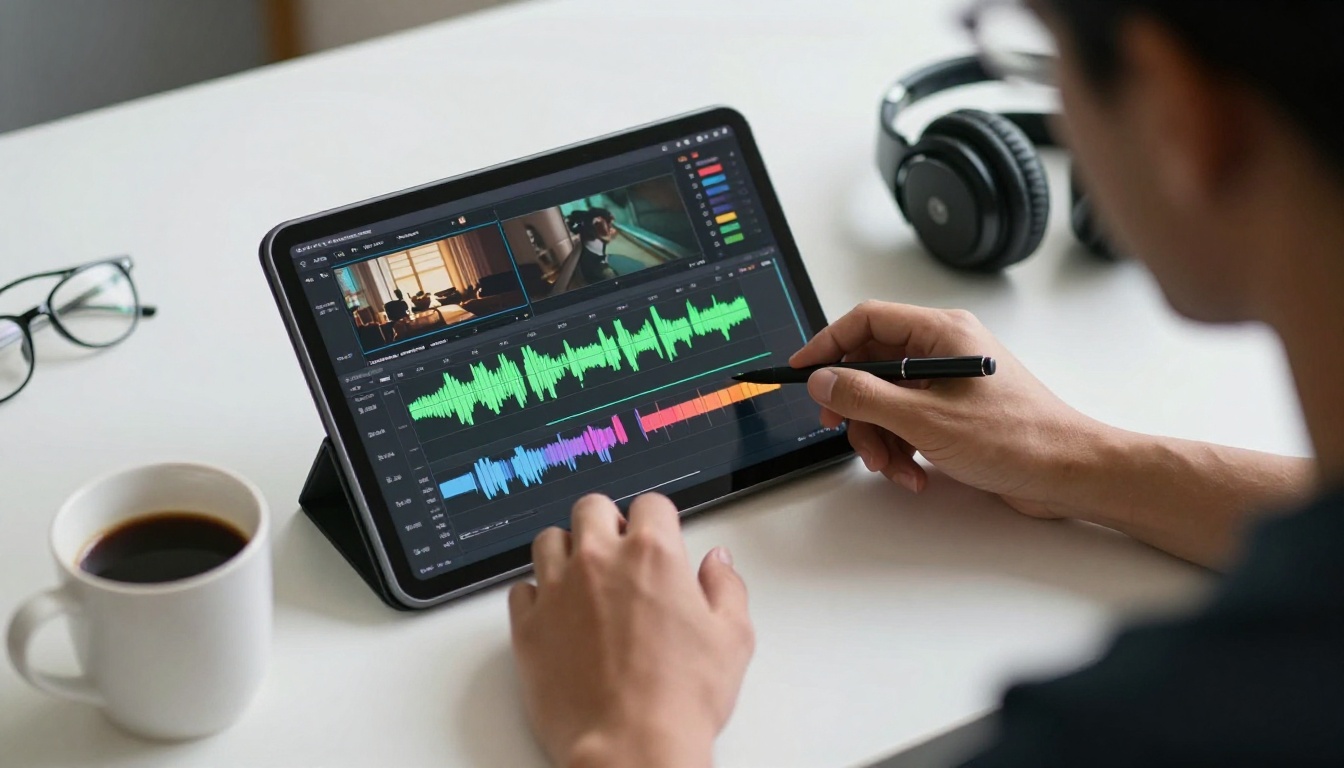
Editing transforms raw footage into a polished story. Start with basic adjustments: exposure, contrast, saturation. Crop to improve composition. For video, trim clips to keep pacing tight. Color grading sets the mood-warm tones feel inviting, cool tones feel modern. Use presets as a starting point, but tweak them to match your style. Consistency across a series builds brand recognition. Mobile editing apps like Lightroom, Snapseed, and CapCut offer powerful tools without a subscription. For advanced work, LumaFusion and DaVinci Resolve on tablets rival desktop software.
Don’t overlook audio. Poor sound ruins great visuals. Clean up background noise with apps like Adobe Podcast or built-in denoise tools. Add music and sound effects to enhance emotion, but ensure levels don’t overpower speech. Export settings matter: choose the highest bitrate your platform supports. For Instagram, 1080p is sufficient, for YouTube, 4K future-proofs your content. A well-edited piece holds attention longer.
Remember, these smartphone camera tips are a starting point. The best way to improve is to shoot consistently and analyze your work. Compare your results to content you admire, and identify one thing to try next time. Your phone is a capable creative tool-master it, and your content will stand out.