Follow us on Facebook
Breaking updates in your feed — tap to open
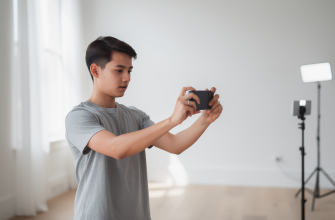
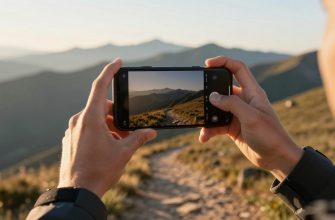
If you’ve ever felt frustrated by iPhone photos that look grainy, lack detail, or appear overly processed, you’re not alone. Many users assume their smartphone’s camera capabilities are limited, but the truth is often hidden in the settings menu. After iOS updates or simply sticking with default configurations, your iPhone might not be performing at its photographic peak. This comprehensive guide reveals the professional camera settings that can transform your mobile photography from ordinary snapshots to intentionally crafted images worthy of any portfolio.
The key insight here is simple: your iPhone’s camera hardware is remarkably capable, but Apple’s default auto modes prioritize convenience over quality. By taking manual control of specific settings, you can bypass the computational photography algorithms that sometimes work against you and unlock the true potential of your device. Whether you’re shooting landscapes, portraits, or everyday moments, these adjustments will help you achieve sharper, cleaner, and more detailed results.
- Why Your iPhone Photos Look Grainy and How to Fix It
- Unlocking Maximum Detail with ProRAW and Resolution Control
- What ProRAW Actually Does for Your Photos
- Optimizing Resolution Settings for Different Scenarios
- Mastering Manual Exposure and Focus Control
- Advanced Techniques for Professional Results
- Which iPhones Benefit Most from These Settings
- Practical Workflow for Everyday Photography
- Balancing Quality with Practical Considerations
- Conclusion: Transforming Your iPhone Photography
Why Your iPhone Photos Look Grainy and How to Fix It
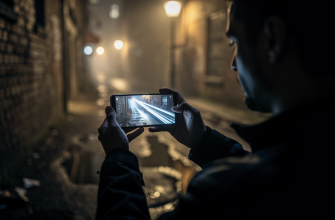
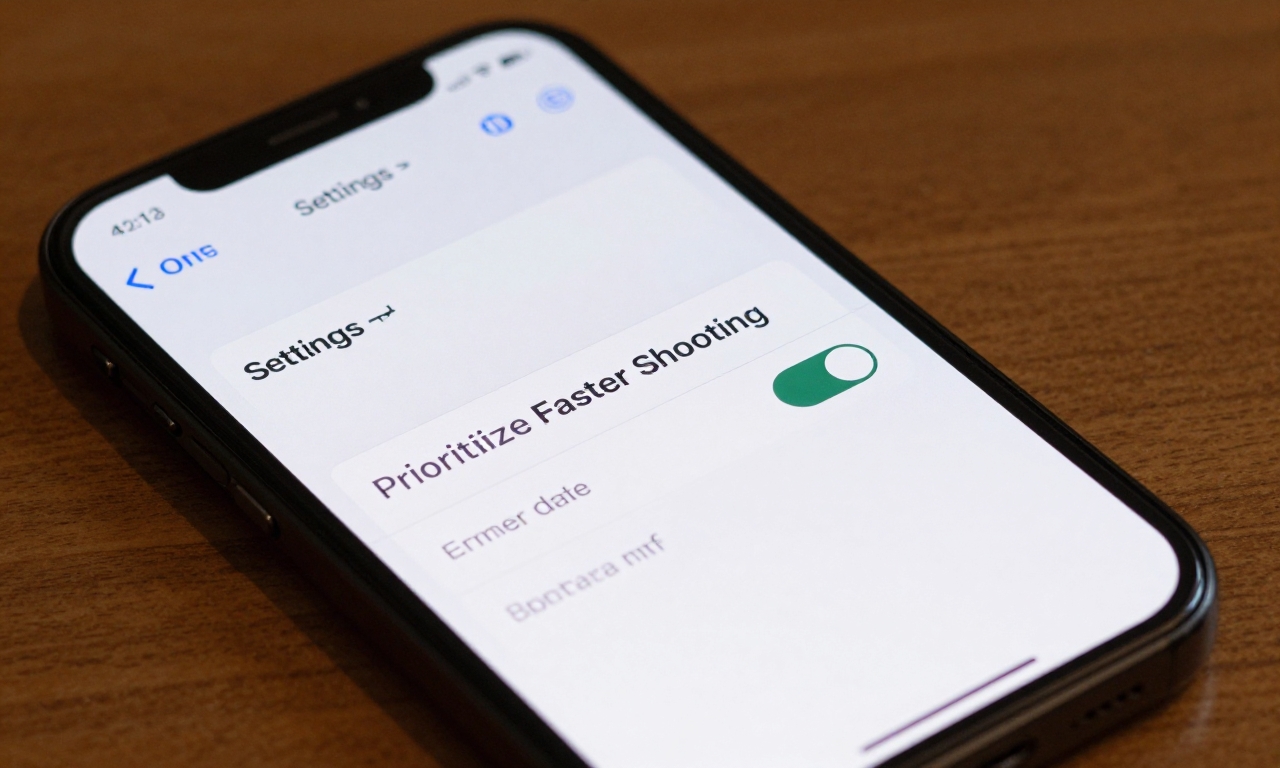
Graininess or noise in iPhone photos is one of the most common complaints among users, particularly after iOS updates. Contrary to popular belief, this isn’t necessarily a hardware limitation. The culprit often lies in a single setting called “Prioritize Faster Shooting” that’s enabled by default on many iPhones. This feature sacrifices image processing time for speed, resulting in noisier images with less detail.
To eliminate graininess, navigate to Settings > Camera and turn OFF “Prioritize Faster Shooting.” This simple change allows your iPhone to spend more time processing each image, reducing noise significantly. The trade-off is minimal-you might experience a slight delay between shots, but the quality improvement is substantial, especially in low-light conditions or when capturing fast-moving subjects.
Another factor contributing to graininess is excessive digital zoom. Many users don’t realize that when they pinch to zoom beyond the optical capabilities of their iPhone’s lenses, they’re essentially just cropping the image digitally. This magnifies imperfections and sensor noise. The solution? Use the 1x lens whenever possible and physically move closer to your subject. For iPhones with multiple lenses, switch between the available optical zoom options rather than relying on digital zoom.
Unlocking Maximum Detail with ProRAW and Resolution Control
What ProRAW Actually Does for Your Photos
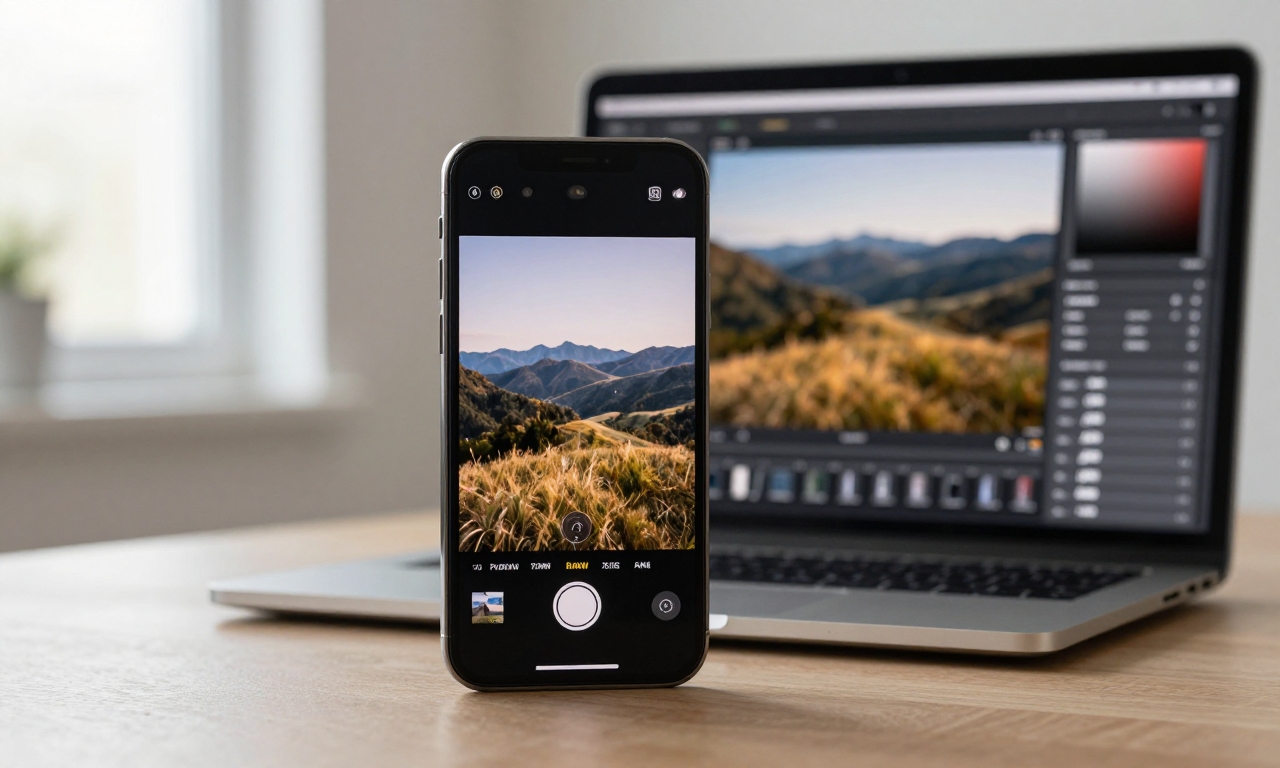
Available on iPhone 12 Pro and later models, ProRAW is a game-changing feature that most users overlook. Unlike standard HEIC or JPEG formats, ProRAW captures images with minimal processing, preserving significantly more data from the camera sensor. This gives you unprecedented control in post-processing apps like Lightroom or Photoshop, allowing you to adjust exposure, color, and detail without degrading image quality.
To enable ProRAW, go to Settings > Camera > Formats and toggle “Apple ProRAW” ON. You can then access it within the Camera app by tapping the RAW icon. Be aware that ProRAW files are substantially larger (typically 25-75MB each), so ensure you have adequate storage. The benefits, however, are undeniable: richer colors, more detail in shadows and highlights, and greater flexibility for professional editing.
Optimizing Resolution Settings for Different Scenarios
Recent Pro iPhones feature 48MP sensors, but they don’t always use this full resolution. The default “Auto” setting switches between 12MP and 48MP based on lighting conditions, which can be unpredictable. For consistent results, manually set your Photo Mode to 24MP for everyday shooting-this provides an excellent balance between detail and file size.
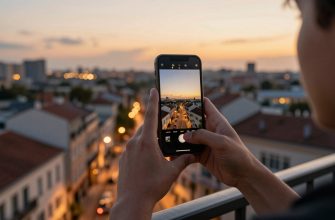
Reserve the full 48MP setting for situations where maximum detail is critical: landscape photography, architectural shots, or any scenario where you might want to crop significantly while maintaining quality. To adjust this setting, go to Settings > Camera > Formats and select your preferred resolution under “Photo Mode.” Remember that higher resolutions require more storage and processing power, so use them judiciously.
Mastering Manual Exposure and Focus Control
One of the most powerful yet underutilized features of the iPhone camera is manual exposure control. While the auto-exposure system works well in balanced lighting, it often struggles with high-contrast scenes, blowing out highlights or crushing shadows. Taking manual control ensures consistent results across varying lighting conditions.
To manually adjust exposure, simply tap on your subject in the Camera app to set focus, then slide your finger up or down on the screen to increase or decrease brightness. The exposure slider that appears allows for precise control. For challenging lighting situations, like backlit subjects or sunset photos, this manual adjustment can mean the difference between a mediocre shot and a stunning image.
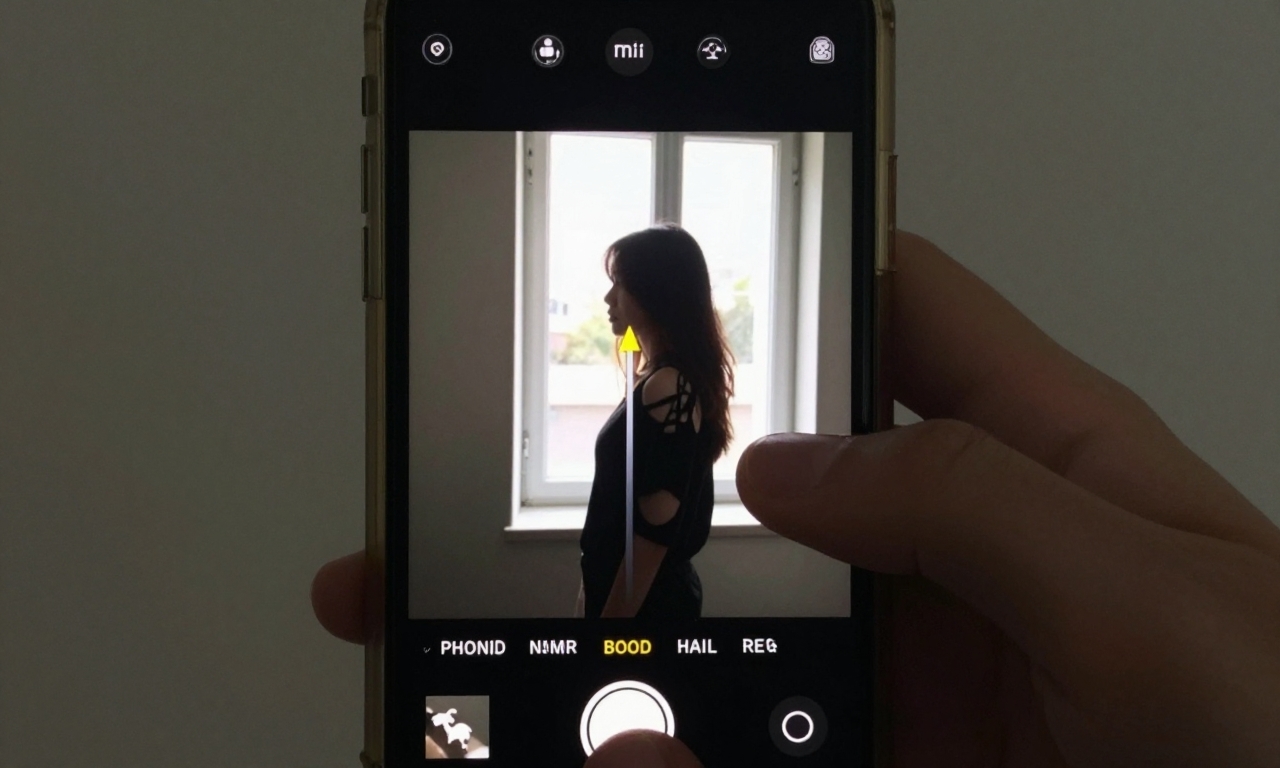
Combine manual exposure with focus locking for even greater control. Press and hold on your subject until you see “AE/AF Lock” appear at the top of the screen. This locks both focus and exposure, allowing you to recompose your shot without the camera readjusting. This technique is particularly useful for portrait photography or when shooting through windows or other obstacles.
Advanced Techniques for Professional Results
Beyond basic settings, several advanced techniques can elevate your iPhone photography further. First, consider shooting in burst mode for action shots-simply hold down the shutter button to capture multiple frames in quick succession, then select the best one. Second, use the grid overlay (enable in Settings > Camera > Grid) to apply the rule of thirds for more compelling compositions.
For portrait photography, experiment with different lighting effects (Natural, Studio, Contour, Stage) available in Portrait mode. Each creates distinct shadow patterns that can dramatically alter the mood of your image. Additionally, pay attention to the depth control slider that appears after taking a portrait photo-this allows you to adjust background blur intensity even after the shot is taken.
Which iPhones Benefit Most from These Settings
While many of these tips apply broadly, certain iPhone models are particularly well-suited to professional camera settings optimization. The iPhone 15 Pro Max and iPhone 15 Pro stand out with their advanced camera systems, including improved sensor technology and enhanced computational photography capabilities. These devices handle ProRAW files exceptionally well and offer the most flexibility for manual control.
The iPhone 14 Pro series also benefits significantly from these settings adjustments, particularly regarding the 48MP sensor utilization. Even older Pro models like the iPhone 13 Pro and 12 Pro can see dramatic improvements when ProRAW and manual controls are properly configured. Non-Pro iPhones can still benefit from many of these tips, particularly manual exposure control and resolution optimization where available.
It’s worth noting that as iPhone camera technology evolves, so do the optimal settings. What works perfectly on an iPhone 14 Pro might need slight adjustment on an iPhone 15 Pro. The key principle remains constant: understanding and controlling your camera settings yields better results than relying entirely on automatic modes.
Practical Workflow for Everyday Photography
Implementing all these settings might seem overwhelming initially, so here’s a practical workflow to get started. First, make the foundational changes in Settings: disable “Prioritize Faster Shooting,” enable ProRAW if available, and set your preferred resolution (24MP is recommended for most users). These are one-time adjustments that will improve all your photos.
When you’re ready to shoot, start by assessing your scene. For landscapes or detail-critical shots, consider switching to 48MP resolution. For portraits or casual photos, 24MP is ideal. Always tap to focus on your main subject, then adjust exposure manually if needed. Avoid digital zoom-use your feet to get closer or switch between optical lenses on multi-lens iPhones.
After shooting, take advantage of the extra data in ProRAW files if you’ve used that format. Basic adjustments in the Photos app or more advanced edits in third-party applications can extract remarkable detail from these files. Remember that photography is iterative-experiment with different settings in various conditions to discover what works best for your style and subjects.
Balancing Quality with Practical Considerations
While optimizing for maximum quality is appealing, it’s important to balance this with practical considerations. ProRAW files consume significantly more storage-a consideration if you have limited iCloud or device storage. The 48MP setting similarly creates larger files, though modern iPhones handle compression efficiently.
Processing time is another factor. With “Prioritize Faster Shooting” disabled and higher resolution settings enabled, you might notice slightly slower shot-to-shot times. This is rarely problematic for deliberate photography but could matter for rapid-fire shooting scenarios. The solution is simple: create different camera presets in your mind (or using Shortcuts) for different situations-optimized settings for important shots, faster settings for casual moments.
Ultimately, the goal isn’t to use every advanced feature all the time, but to understand which settings matter most for your photographic goals. A landscape photographer might prioritize resolution and ProRAW, while a street photographer might focus on manual exposure and faster shooting. The power lies in having the knowledge to choose intentionally rather than accepting whatever the default settings provide.
Conclusion: Transforming Your iPhone Photography
The journey from frustrated iPhone photographer to confident image-maker begins with understanding that your device is far more capable than its default settings suggest. By implementing these professional camera settings-disabling “Prioritize Faster Shooting,” leveraging ProRAW and resolution control, mastering manual exposure, and avoiding digital zoom-you can dramatically improve your photo quality.
Remember that photography is both technical and creative. These settings provide the technical foundation, but your eye for composition, light, and moment remains the most important element. As you practice with these optimized settings, you’ll develop an intuitive understanding of when to use which feature, transforming your iPhone from a convenient snapshot tool into a legitimate creative instrument capable of producing images that stand alongside those from dedicated cameras.
The best part? All this potential was already in your pocket. You just needed to know where to look in the settings menu. Start with one adjustment today-perhaps turning off “Prioritize Faster Shooting”-and notice the immediate improvement in your photos. From there, explore other settings gradually, building your skills and confidence as you unlock the true photographic power of your iPhone.